
To achieve this, I used a lino cutting tool and some erasers to make rubber stamps. This is a technique I've used a lot in the past! Erasers can be soft and easy to carve, and the small size gives you a limited canvas but still offers a nice level of detail. Here are some scans of rubber stamps that I've made before. I really like the look of them once they've seen a bit of use and are coated in ink.

First, I roughly sketch out my motif on the surface of the rubber in pen. Then I use a sharp lino cutting too to start carving out the design.

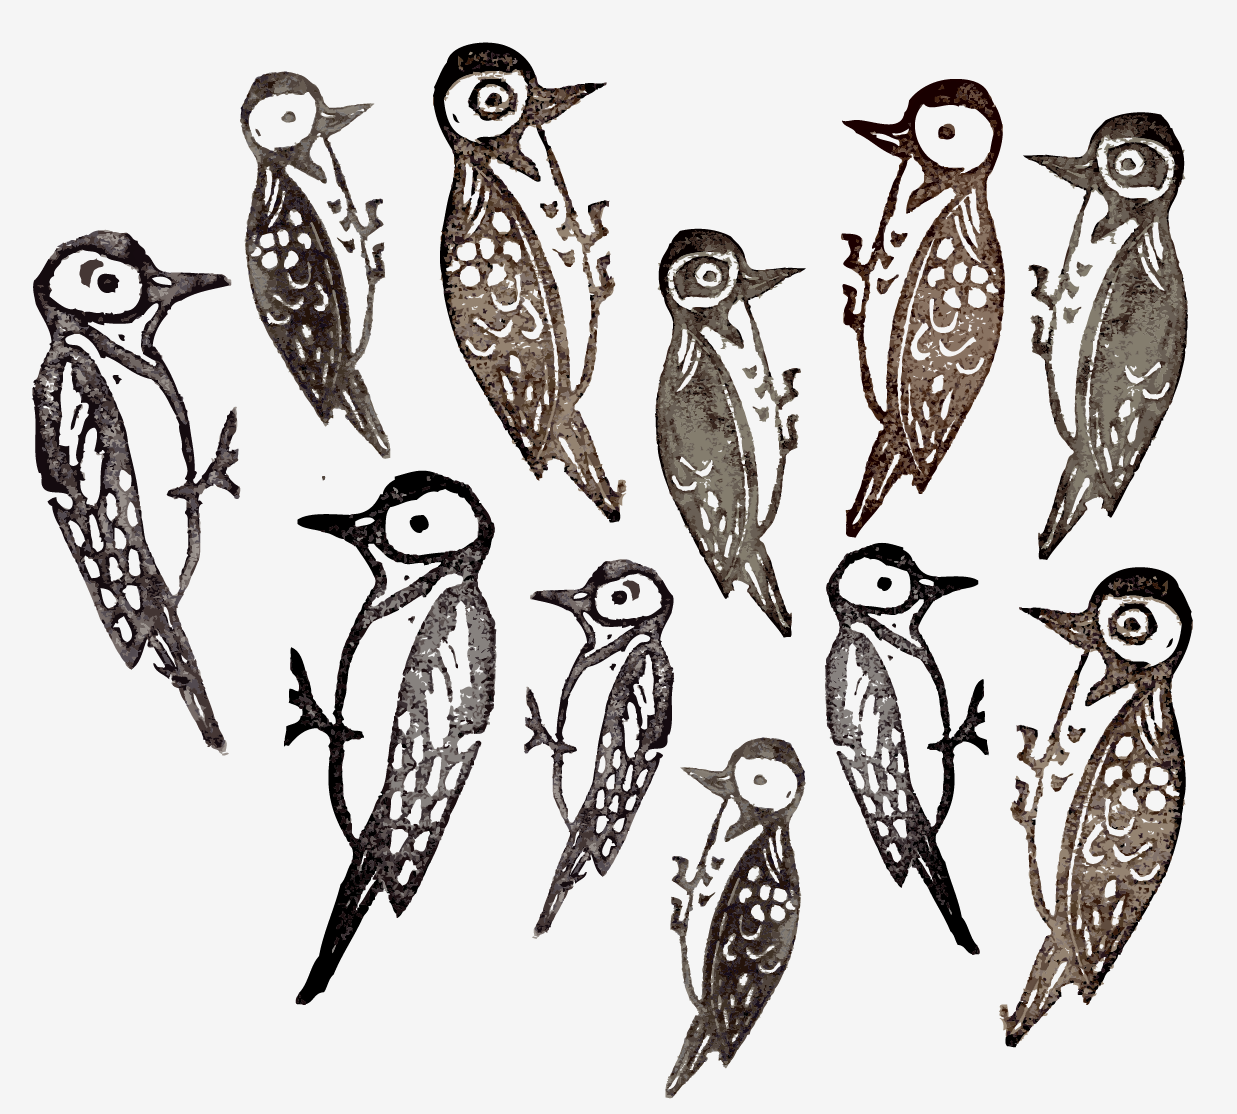
I like to make prints of the stamp along the way as I'm carving it so that I can see how the design has progressed. This is the progress of the stamp above:

Once the stamp is finished, I usually try printing it in some different inks. Above I used an ink pad, and below I used calligraphy ink painted on with a brush. I love the way that ink can distort the motif and give you quite different effects.


I added the red detailing by drawing rough shapes and layering them underneath the motifs. I wanted this to look blocky and imperfect as well to continue the 'printed' style.

Now that the birds were ready, I was able to start building my forest. I drew some tree silhouettes and added a little texture onto them. I changed the colours a lot as I was working on them! Eventually I settled on these muted tones. I used a 'Multiply' filter on the individual trees so that when I layered them up they 'multiplied' with the ones below, creating new overlapping colours. It's very subtle but I like this effect, and I think it's appropriate for the printed look that I was trying to achieve.

I then started placing my Woodpeckers on top, but I felt like the design was needing another layer of detail.


I used this new brush to add 'pecked' holes into my tree trunks.

Design a Day - Day Six complete! Woodpecker Spotting.

Once I had finished, I accidentally deleted my background colour, but I rather liked the result! I tweaked a couple of the trees and now have an alternative colour way. It's a bit fresher than the original.
No comments:
Post a Comment